
Create a Room
Using a Room Outside of Brightspace
All instructors and students can create their own Kaltura meeting rooms. For instructors, this might be for office hours, while for students this might be for group work or to connect with classmates. There are a few ways you can create a room from either NIC MediaSpace or from Brightspace.
*NOTE: Participants enter rooms via a shared link.
Rooms can be created by both instructors and students from the My Rooms menu on NIC MediaSpace. These rooms should be created for regularly used workspaces (e.g., office hours); they are not linked to a course in Brightspace. Follow the steps below to create a room using this method. *NOTE: You are the owner of this room and will need to start the meeting before others can join, which is why this method is recommended for Office Hours.
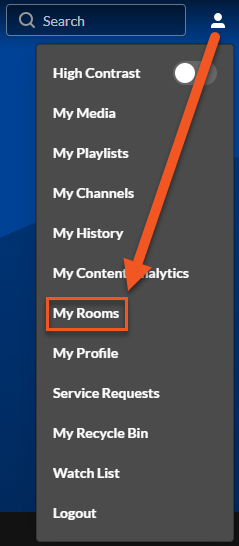
- Navigate to NIC MediaSpace. Click on the user menu in the top right corner and login using your NIC credentials. Select My Rooms.
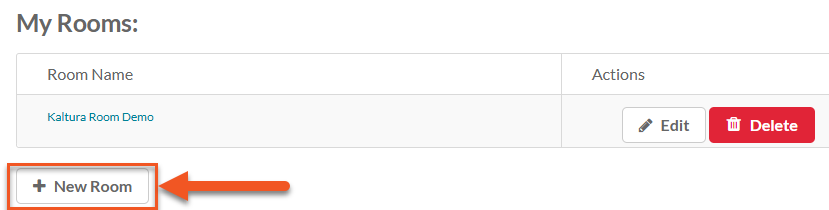
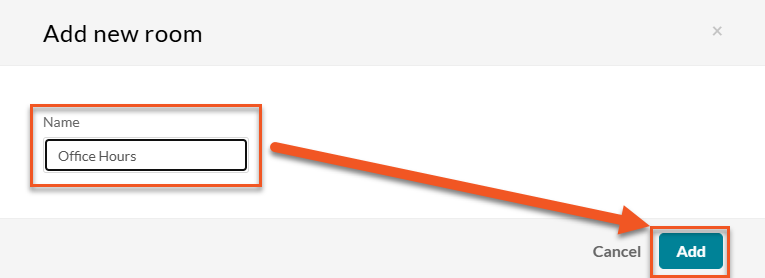
- Click on +New Room. Type a name for the room (e.g., Office Hours — you can change the name at any time by clicking the Edit button) and click Add. Share the link to this room with your students.
A Kaltura Room can be tied directly to a channel, creating a persistent virtual meeting space that anyone with access to the channel can join. This type of room is ideal for ongoing team collaboration, department meetings, or informal group discussions. *NOTE: Anyone who is an assigned Moderator can start the meeting/launch the room, this is why this method is recommended for group work.
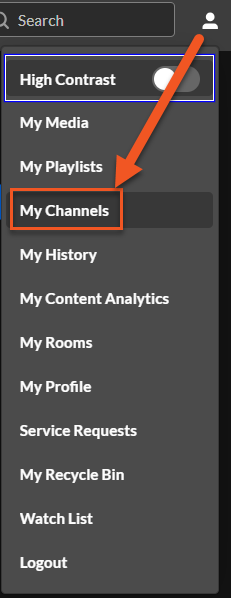
- Navigate to NIC MediaSpace. Click on the user menu in the top right corner and login using your NIC credentials. Select My Channels.
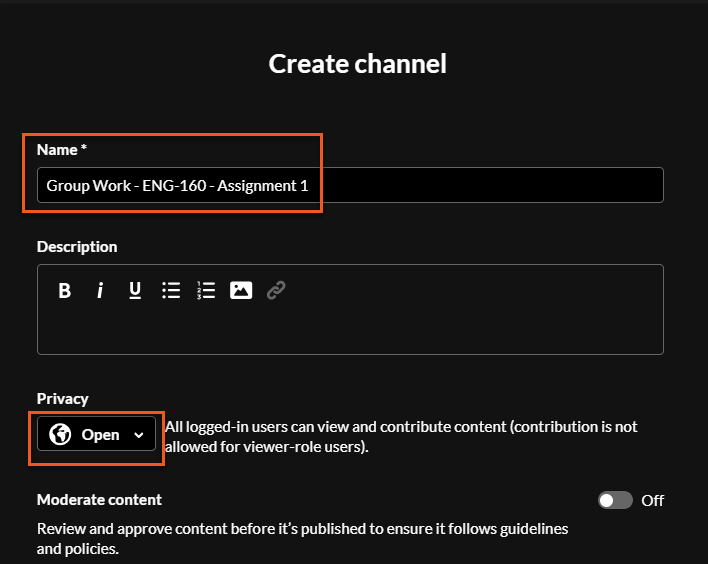
Click +Create channel.

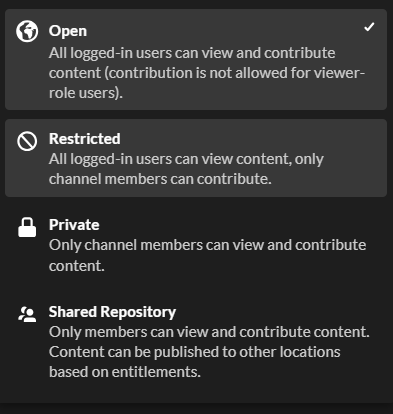
- Type a name for the channel (e.g., Group Work — you can change the name at any time by using the configure settings) and select privacy settings. Choose from the list of options.
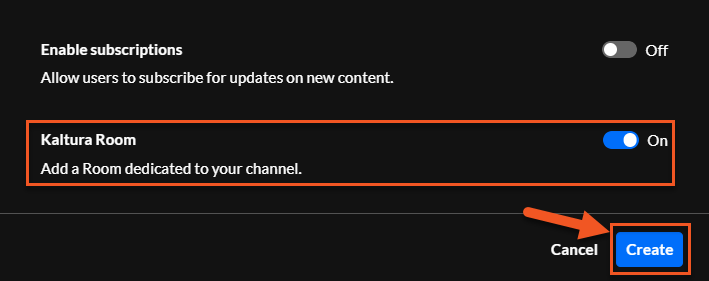
Enable Kaltura Room and click Create.
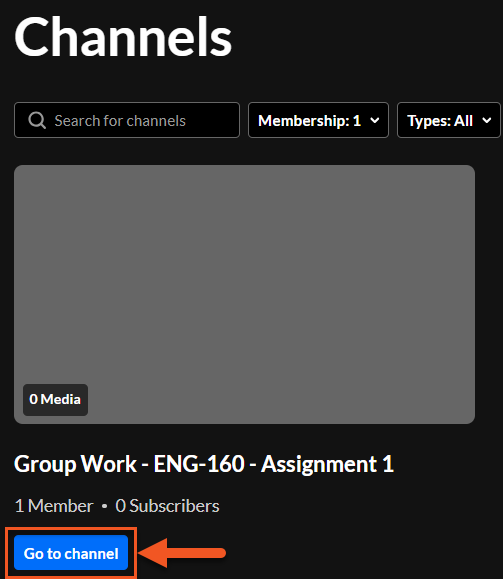
- The Channels window opens, showing you available channels. Click Go to channel to access the channel you just created.
Click Enter Room.

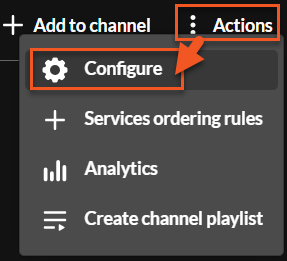
To add users to your channel click on the 3‑dots Action menu and select Configure.
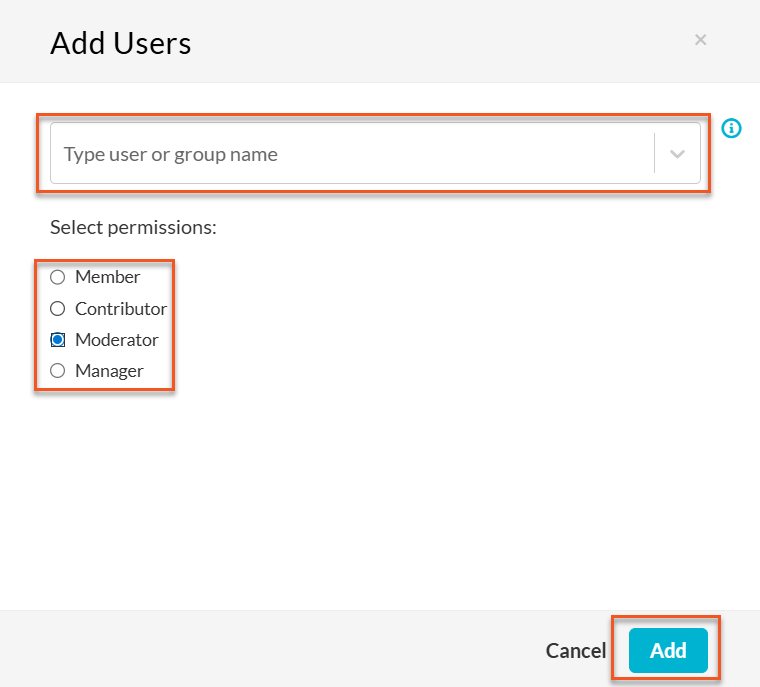
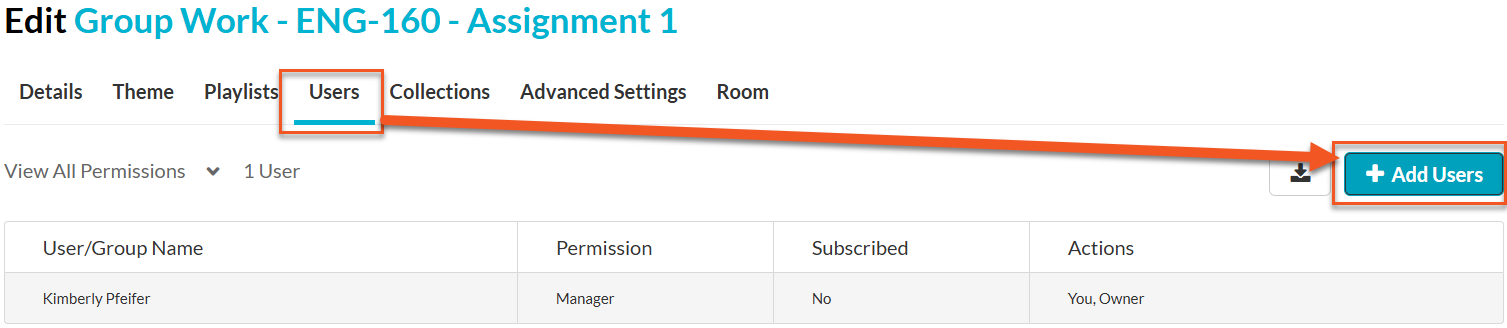
Then select Users from the menu bar and click +Add User. In the pop-up window, type the name of who you want to add, select permissions and click Add.
If you want to create a room that is only available during a scheduled time, use the +Create > Meeting Room workflow from either NIC MediaSpace or Brightspace. *NOTE: You do have the option to set the room availability to Always vs Specific Time Frame. However, if a start time is set, the meeting can begin automatically and participants can join early (they will wait in the waiting room until the moderator arrives). This method is recommended for internal communications/events where many participants are expected.
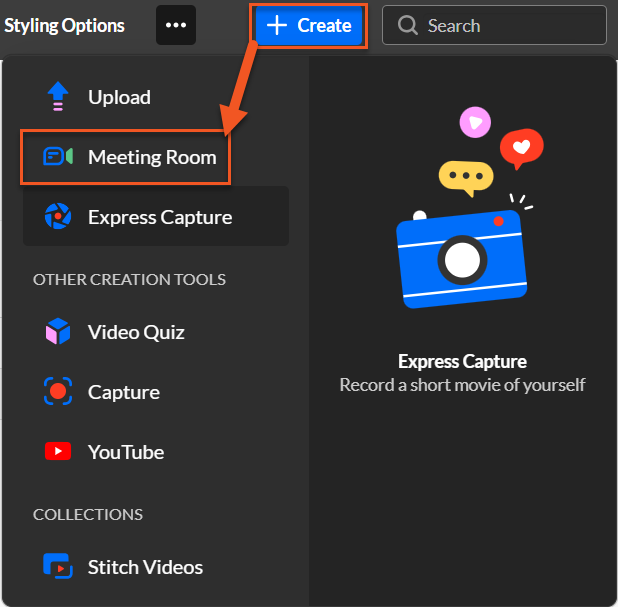
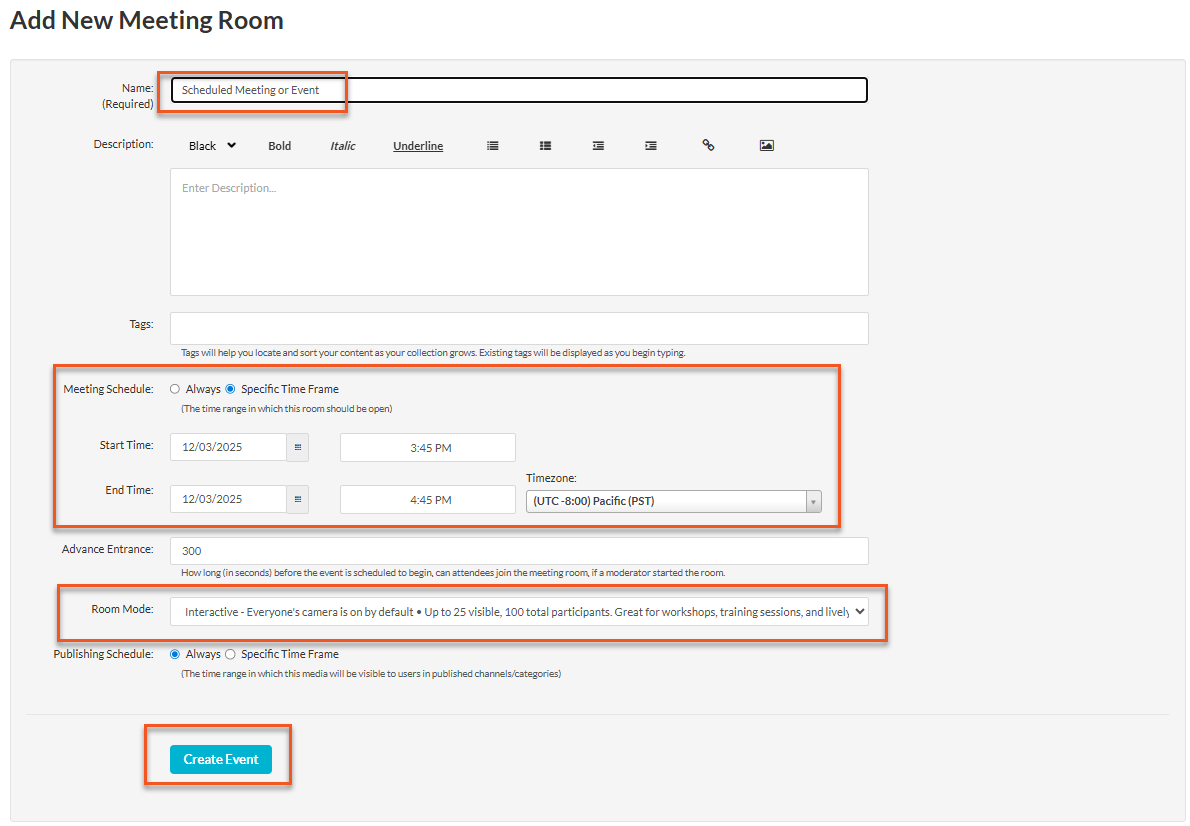
- Navigate to NICMediaSpace or Kaltura My Media in Brightspace. Click +Create and select Meeting Room.
- Give the Meeting Room a name and a description and/or tags if needed. Enter the Start Time and End Time and decide on the Room Mode (Interactive vs. Webinar). Click Create Event.
- You’ll be taken to the room’s entry page.
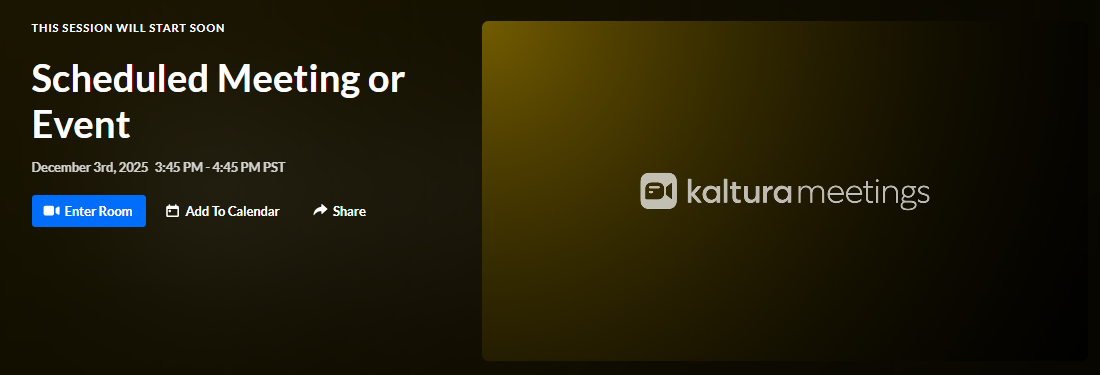
If you’re the room owner, co-editor, or co-publisher, you can always locate the media entry page for your meeting room in My Media or in the location where it’s published.
