
Upload Files
To begin building your course, start by uploading files and materials such as PDFs, Word documents, PowerPoints, or other resources from your computer’s hard drive or a shared drive to the Manage Files area. This organizes and stores files in your Brightspace course. You can upload a single file or an entire zipped collection of folders all at once.
NOTE: Students can’t see anything in the Manage Files area, this is simply a collection of materials you can draw from in your course. To add files to the Content area, where students can see them, use Course Builder or the Content tool.
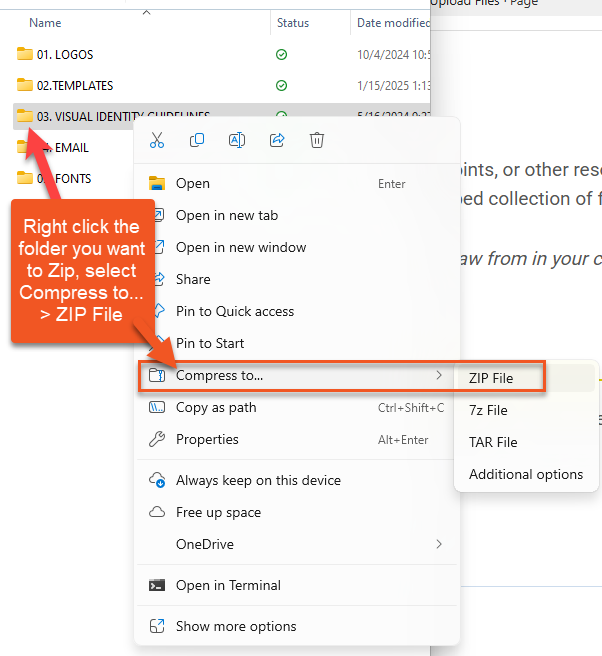
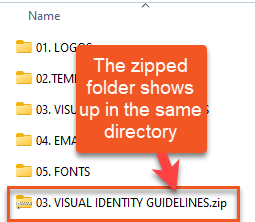
You can compress multiple folders and files on your computer into a single ZIP file, upload it to Manage Files in Brightspace, and then unzip it to maintain the same folder structure within your course. See step-by-step instructions below.
On your computer
In Brightspace
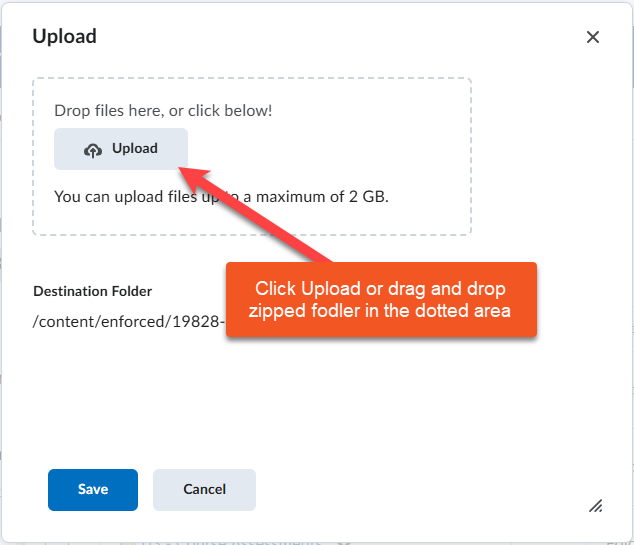
Navigate to Tools > Manage Files.
Click Upload.

The Upload window appears.
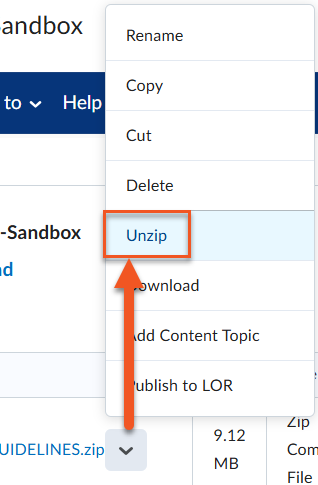
Select Unzip from the zipped folder’s drop-down menu.
Upload Zipped File of Whole Course
In Brightspace
Navigate to Tools > Manage Files.
Click Upload.
The Upload window appears.
