
Adding Media and Links
You can add videos, images, and other media to your course using links or by embedding them in your course content on an HTML page.
Embedding Videos
Embedding videos provides a more seamless user experience as students can watch the video within the course content without having to navigate to an external website. It ensures that the video will be displayed consistently across different devices and browsers, whereas external links may behave differently depending on the user’s setup. Embedding allows you to customize the video player’s appearance and functionality to better suit the course content and learning objectives.
Follow the steps below to embed a videos on an HTML page. (See the Course Builder page for more information about HTML pages)
- Add YouTube videos to collection. (To embed a video from your existing Kaltura My Media collection move to step 2).
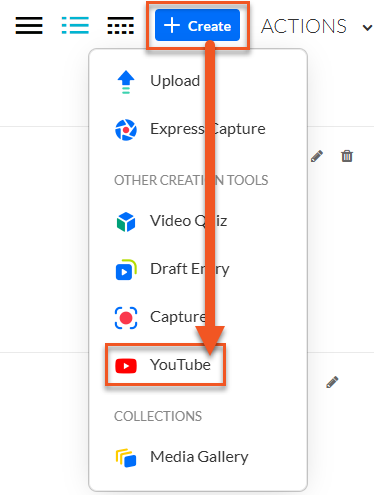
Navigate to Tools > Kaltura My Media. Next, click the blue button that says + Create. Select YouTube.
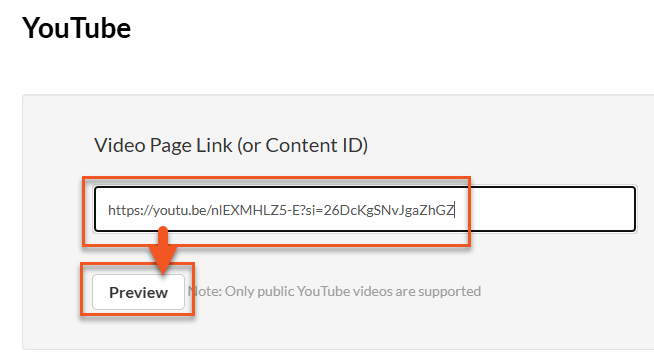
Paste the video link and click Preview.
From here, you can change the name, enter a description, apply a tag and change publishing status. *Tip: add a tag that includes the course name or code to make it easier to search for it in you collection.
- Embed recorded videos or YouTube videos. Once the video has been added to your collection, you can embed it from your Kaltura My Media gallery.
Navigate to the HTML page where you want to embed the video.
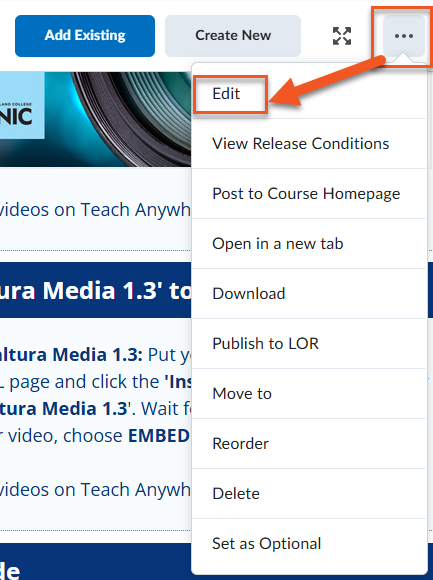
Click the 3 dots to access the Edit tool.
Click the Insert Stuff icon found on the HTML Editor tool bar.
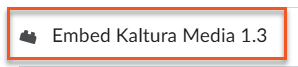
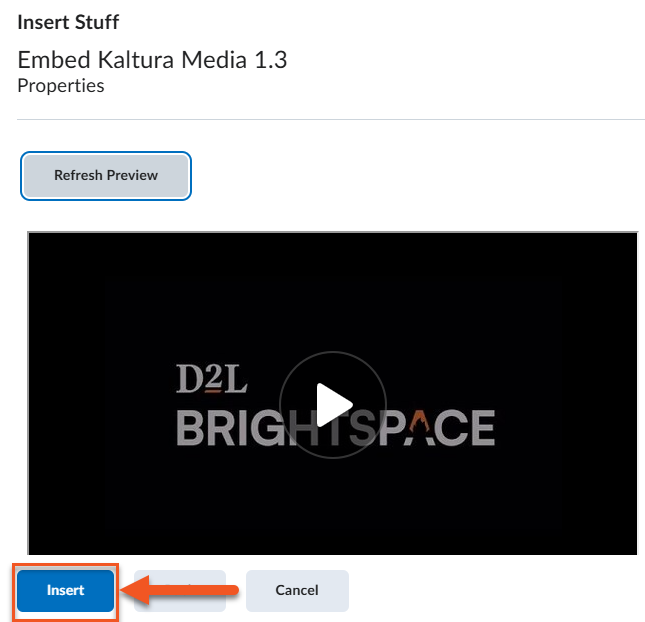
Select Embed Kaltura Media 1.3.
Choose the video from your collection you want to embed and click </> Embed.

Preview and click Insert.
- Embed videos hosted on other platforms. There are some videos that can’t be added to your Kaltura My Media gallery (e.g., Vimeo). If the hosting platform provides the embed code, these videos can be embedded on your course HTML pages.
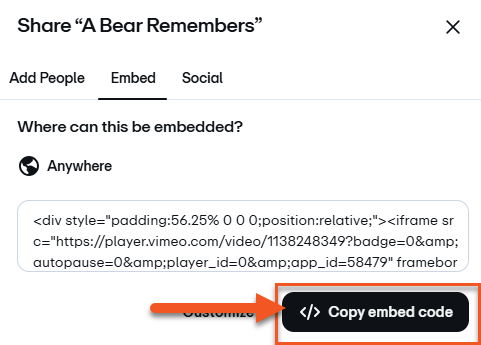
To locate the embed code click on the videos share icon.
Then click Embed and </> Copy embed code.
Navigate to the HTML page where you want to embed the video (see the Course Builder page for more information about HTML pages).
Click the 3 dots to access the Edit tool.
Click the Insert Stuff icon found on the HTML Editor tool bar.
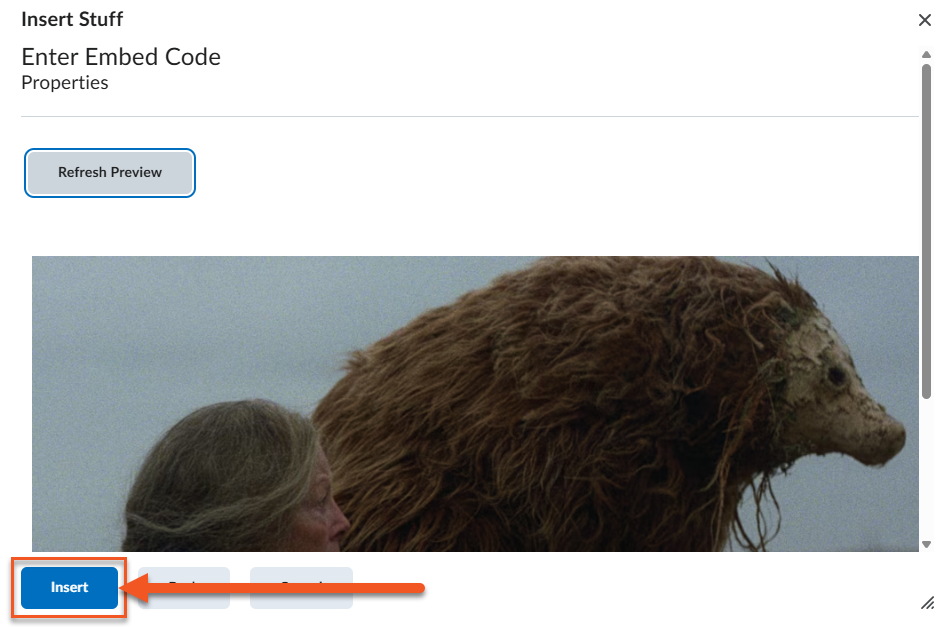
Select Enter Embed Code.
Paste the embed code into the Embed Code window. Click Next.
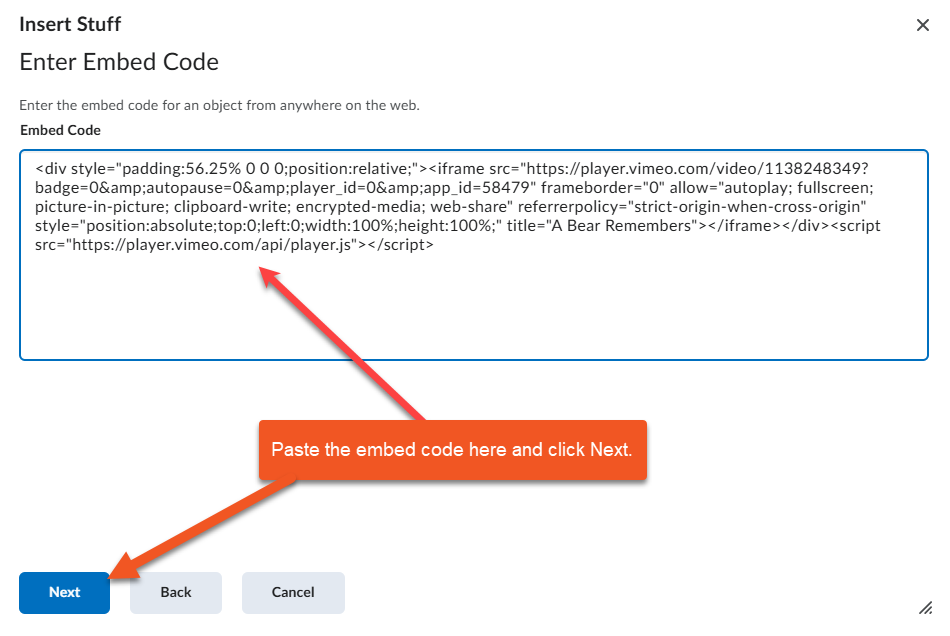
Preview and click Insert.
Embedding Images
Including images in courses can improve clarity and engagement by helping students quickly understand concepts that may be difficult to grasp through text alone. Well-chosen visuals can support different learning styles, reinforce key ideas, and make course content more approachable and easier to navigate. Images can be added in various formats, such as .PNG (best for resizable line art/icons) and .JPG (best for photos).
Follow the steps below to embed an image on an HTML page.
- Navigate to the page that you want to embed the image on. Click the Insert Image icon.
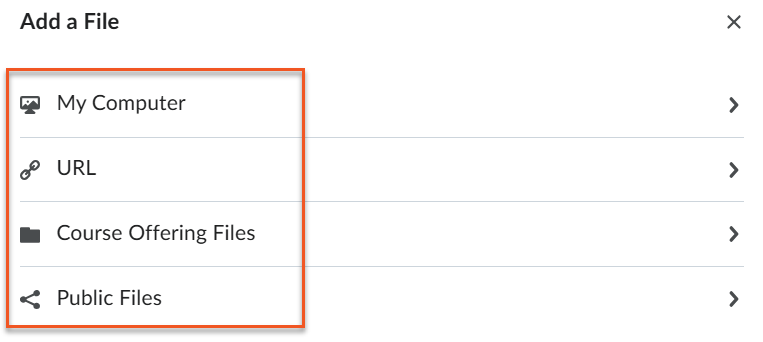
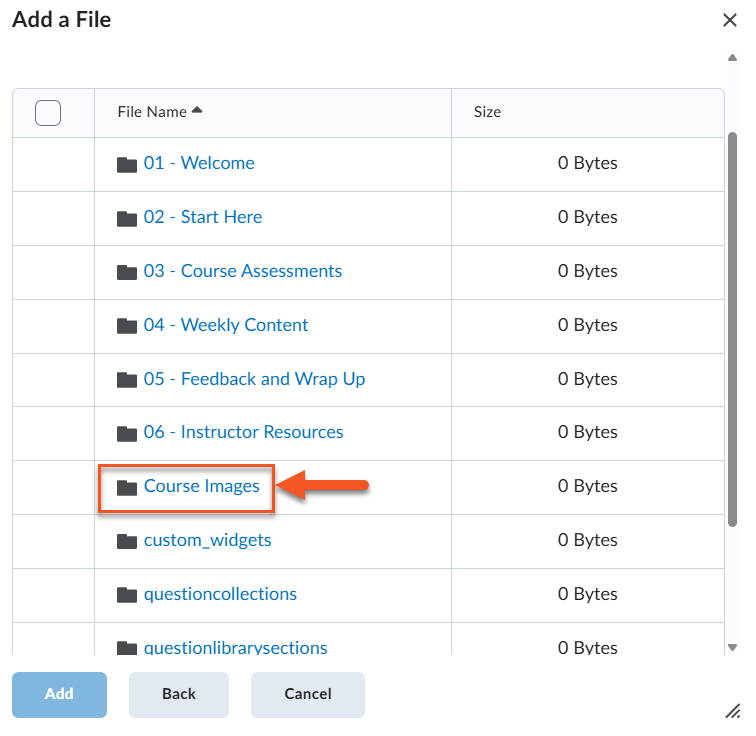
- Choose where you want to add your image from. *TIP: Create a folder in the Manage Files area for course images and embed them from there to ensure all images remain with the course.
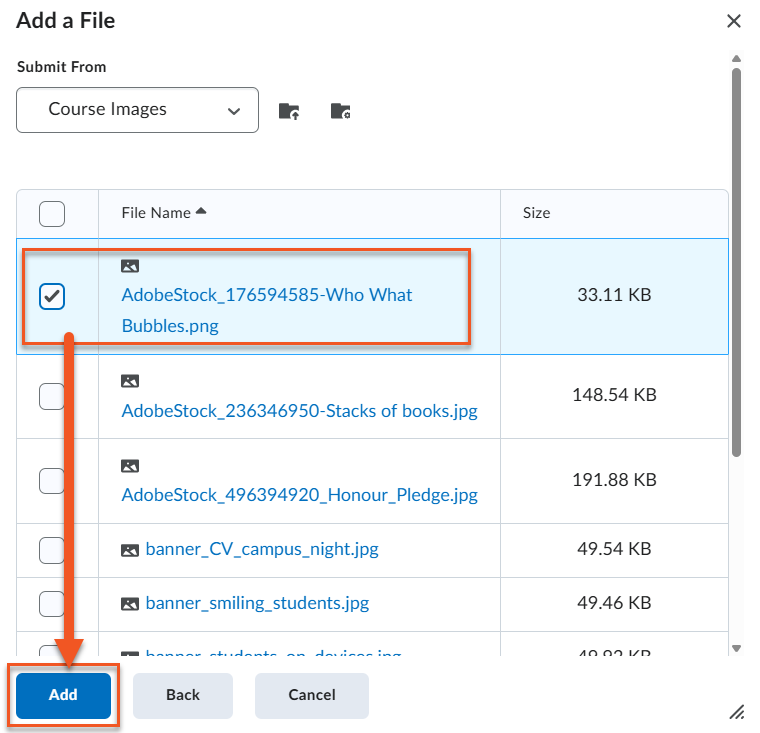
- Select the image you want to embed and click Add.
Watch the following video to learn more about embedding images on HTML pages
When creating or editing an HTML page in Brightspace, you can add links by highlighting the text you want to make clickable and selecting the Insert Quicklink (link icon) in the editor toolbar. From there, you can link to course content, external websites, files, activities (Assignments, Quizzes, Discussions), or even another course. If linking to an external site, paste the full URL (including https://) and use meaningful hyperlink text instead of pasting raw URLs, as this improves accessibility and provides clearer context for students.